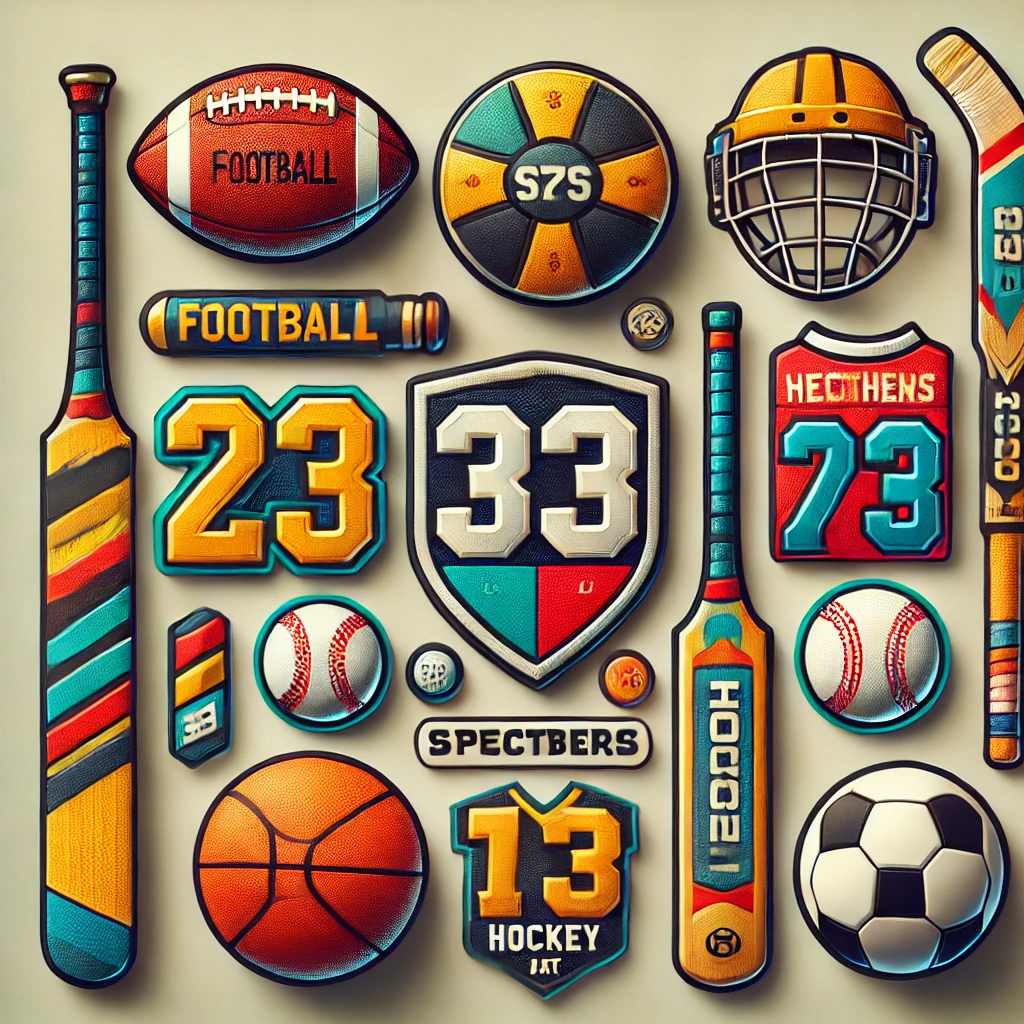
Chenille patches are eye candy adornments for apparel – they make a bold statement. Chenille patches can be designed and customized according to personal preferences just like any other type of patch. Chenille patches are more popularly used to make varsity letter patches and letterman patches. These patches are more commonly attached to jackets and hoodies and can be attached with a variety of attachment methods.
For instance, if you want to attach your varsity patches on your letterman jacket the most quick and convenient way is to iron on the patches. Looking to DIY at home? No problem! just order your custom chenille patches with iron on backing and you are good to go.
Ironing your chenille patches is a very easy process as we have explain below. It’s important that there needs to be a compatible fabric surface for them to stick to. Nevertheless, this process, although simple, does require a certain degree of care and caution.
Please note that this guide teaches you how to iron on chenille patches, If you are looking to iron on embroidered or woven patches, read this article instead.
Additionally, iron on chenille patches won’t attach to all types of material such as nylon, leather, rayon, or more. If you aren’t an expert on the differences between these materials, just stick to those that don’t have a slippery texture. For the latter, you might just have to sew the patches on instead for best results. Cotton, polyester, and cambric, on the other hand, are great options for your chenille patch to seamlessly stick to.
Lets start.
Set the iron to the highest temperature
Before you do anything, make sure to set your iron to the highest temperature. Your iron needs to be scorching hot for the patch to adhere properly. Be careful while dealing with hot objects, and always wear protective gloves to prevent any accidental burns.
Prepare the surface
Put your clothes on a flat surface and stretch the fabric to remove any creases. You must have planned where you want the patch to go before reaching this step but do a little rerun. Don’t forget, once the chenille patch has attached to the fabric, it will be very hard to get it off. Which is why you need to be sure about where it’s supposed to go. Place the patch onto different areas of your item – a hat, jacket, shirts, or shoes – and imagine how it would look.
Once you are convinced, position the patch – it’s adhesive/glue side facing the article – and place it over the desired spot. If you want to attach the patch at a corner, or some area that cannot be flattened out, try stuffing the item to flatten the surface to allow ample coverage area for the patch and iron. Stuffing is useful for when you want to iron a chenille patch onto shoes, caps or sleeves.
Use an extra cloth between the iron and the chenille patch
In order to prevent the yarn of your chenille patch from burning, take a piece of cloth (ideally cotton) and place it above the patch. This will act as a protective layer for the yarn. So, take an old t-shirt, a pillow case, or whatever that isn’t too thick or too thin.
Finally, press the iron on to the patch
Press the hot iron over the patch and let it stay for 5-7 seconds and remove for 2 seconds, again place the iron over the patches for 5-7 seconds and remove for 2 seconds keep on repeating until the patch is firmly attached. Usually, each pressing set should last around 5-7 seconds. If your patch is large or has specific customization that requires extra caution, you should follow instructions provided by your patch manufacturer. A reliable patch maker can provide you with specific instructions to take care when ironing your patches. Just make sure you don’t keep it on for too long as that will only result in undesirable outcomes, and if you are ironing on chenille patches always use a cloth between the iron and the patch, otherwise you will burn the chenille yarn
Iron-on the patch from the inside
Once you are through with the above step the patch should firmly stick. However, to lock it all in and be sure, you need to turn your piece of clothing/article inside out. If you want you can again keep a layer of cloth between the patch and the iron at this stage but it’s not necessary now, just press the hot iron over the patch (glue side) from the inside for 2-4 seconds and you are all done.
That’s all for ironing on chenille patches. If you want to learn how to remove iron on patches from your clothes, click here.