With many options and inspirations out there, it can be difficult to decide where to start when making custom airsoft patches for your team. From shape to size, there’s a wide range of possibilities and decisions that need to be made before customizing a patch. If you want to place an order with us, read on for a complete guide on how to design perfect patches for your airsoft team!
What is an airsoft patch?
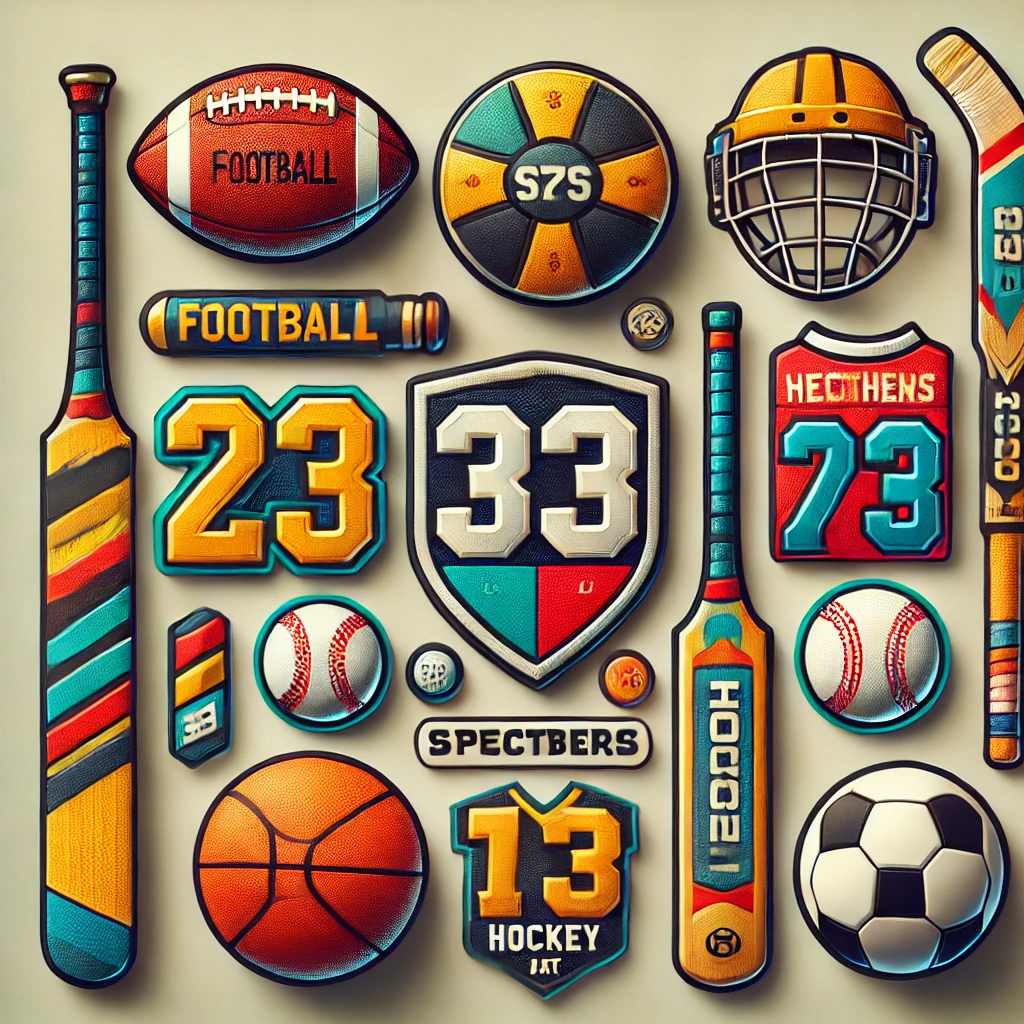
Airsoft is a tactical team sport it is more like military simulation, and one way to show team spirit and unity is by creating patches for each team member to wear. In this article, we will show you how to design and create custom airsoft patches for your team. Patches are a great way to show team spirit and add a little personality to your gear. Patches can be attached to an airsoft player’s tactical vest, leg rig, head gear, plate carrier or any other equipment via different attachment methods.
How do you design an airsoft patch?
When designing an airsoft patch, you will need to consider the size, shape, and colors that you want to use. Try to bring the character of your team in the design of the patch. You will also need to decide on the placement of the patch on your clothing. Designing an airsoft patch for your team can be a fun and creative process. However, it’s important to keep the design simple so that it can be easily recreated. Some tips for designing an airsoft patch include using simple designs and avoiding complex graphics.
Important Things To Consider Before You Start Designing.
- Select the purpose of the patch
Is it simply for team identification, or do you want it to serve as a morale patch, name patch or a tactical patch for a specific squad/unit in your team.
- Select the type of patch
There are three types of patches that are very popularly used by airsoft teams: Embroidered, PVC and Woven. Each patch has its own distinct features and customization ability. For more in depth information on different types of patches click here.
- Who will be wearing the patch?
Will it be worn by all members of the team, or just certain members of a specific squad.
- What size do you want the patch to be?
Again, consider both practicality and aesthetics when making your decision. It’s important to consider both the practicality (will it fit on a hat?) and aesthetic (too small and it will get lost, too large and it will look out of place) when deciding on size.
- What colors do you want to use?
Keep in mind that some colors may be difficult to reproduce accurately, so it’s important to choose colors using a Pantone Color Guide (PMSC) that will look good even if they’re not an exact match.
- Create a design that is workable
You’ll need to start brainstorming ideas with your team members. Sketches are the best place to start, and you can scan or photograph them and send them to us for feedback. Put as much work into your sketch as possible before sending it out. You may want to start with a rough pencil sketch, then create color mock-ups in Photoshop or Illustrator and refine your design from there.
1. Keep the design simple. The simpler the design, the easier it will be to recreate. It is recommended to always design your patch according to the type of patch you opt for.
2. Use easily identifiable colors. This will help your team members quickly identify each other on the field.
3. Make sure the size is appropriate. Airsoft patches should be small enough to fit on a uniform, hat or a tactical vest but not so small that they are difficult to see. 3″ is a standard airsoft patch size but can be more or less depending on your use case.
4. Choose a quality vendor. You want your airsoft patch to last, so make sure to choose a vendor that is reliable and reputable. The patches should not fade or fall apart easily.
5. Get creative! Have fun with the design process and come up with something unique that represents your team’s personality.
If we’ve worked together on a patch before, and you need a few changes, it’s easier for us to just update your previous order with a few edits, instead of re-creating a patch from scratch (That rhymed !)
Choose an attachment method
There are a few different ways that you can attach your airsoft patch to your gear. The most popular methods are velcro, iron-on, and sew-on. Each method has its own advantages and disadvantages, so it’s important to choose the one that will work best for you and your team.
Velcro is the easiest way to attach a patch, and it’s also the most versatile. You can put velcro on just about anything, and it’s easy to take off and move around if you need to. Velcro patches are a great option if you want to remove and re-attach the patches or switch between different velcro patches as required. It also gives you a bit more flexibility in terms of where you can place the patches on your gear.
Iron-on patches are very easy to apply, and they’re quite durable. The downside of iron-on patches is that they’re not as versatile as velcro, and you need to be careful not to apply them to sensitive materials like nylon or leather.
Sew-on patches are the most durable option, but they’re also the most difficult to apply. If you’re not comfortable sewing, you might want to ask someone on your team who is more experienced to help you out.
Finally, some people prefer to glue their patches onto their gear. This is generally considered to be the least desirable option, as it can be difficult to get the patches to stay glued on, and they may eventually come off during game play.
Conclusion
After reading this guide, you should now have a good understanding about designing an airsoft patch. Follow the tips in this guide and you’ll be sure to create a patch that looks great and lasts long. If you haven’t formed your airsoft team yet here’s how to start. If you re looking to customize patches for your newly formed team, just request for a price quote with your idea and our sales representative will get back to you with the all the information. Good luck with the designing, and thanks for reading!