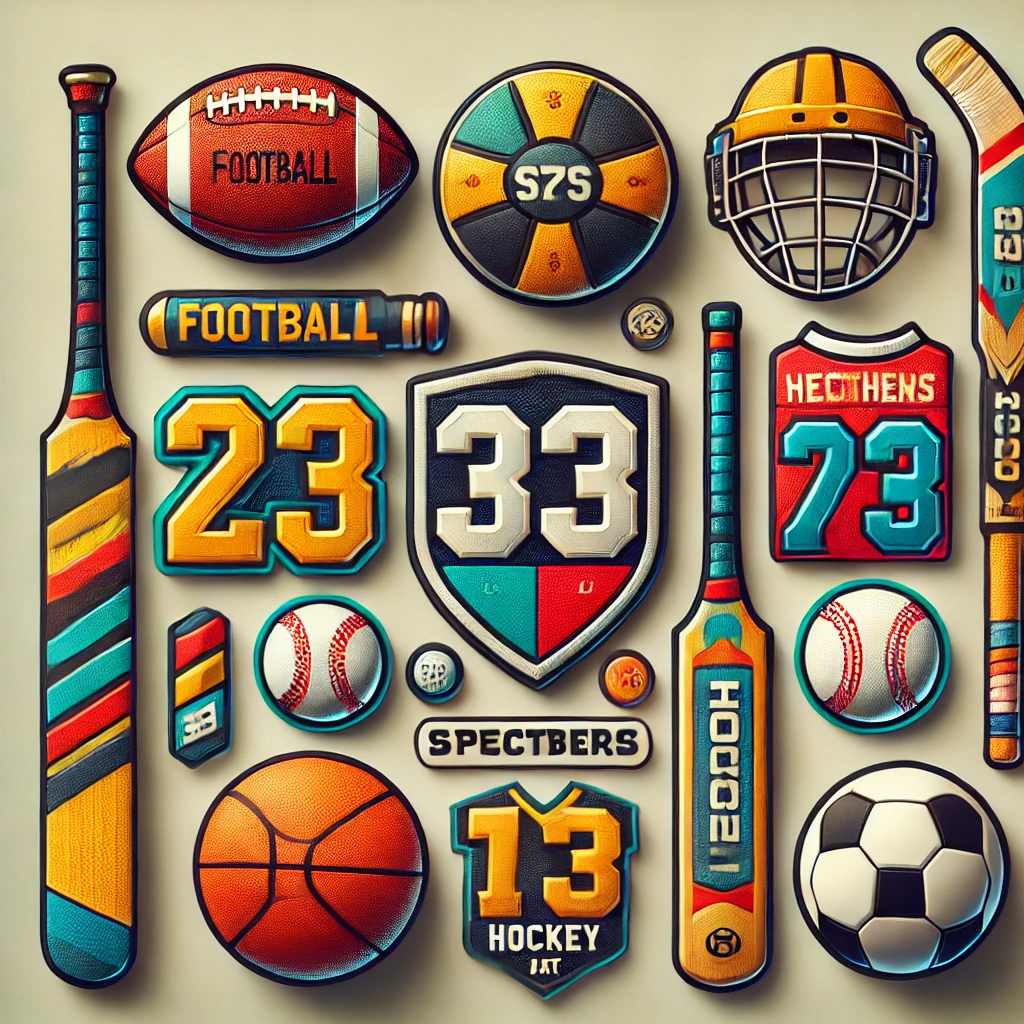
Looks like you ordered some custom iron on patches from us and are looking for a way to safely iron them on to your clothing article. Well, we have written a full and comprehensive Do It Yourself guide below for our customers on how to iron on patches so you can perfectly and safely attach your patches to the clothing articles of your choice
The process is incredibly straightforward, and you can use it to iron on a patch on nearly any type of clothing article, from jackets and shirts to jeans, bags and hats. Please note that this article is only for ironing embroidered and woven patches, read this article if you want to iron on chenille patches.
Safety First
First things first, and that is you and the safety of those around you so choose a time when no one’s around to disturb you during the process, and because the process involves a hot iron make sure there are no kids around the work area.
Choose the Best Material
Of the various ways to apply patches, ironing them is among the easiest if you want a permanent solution. It is certainly quicker than sewing them on. However, it works better for some materials than others.
Iron on patches work best on polyester and cotton.
If your chosen item is made of rayon, rubber, nylon, or waterproof material, consider sewing the patch on instead or try using specific glue for that material. Trying to apply the patch to one of these materials can cause damage to the clothing in question so some extra care is required when you iron on your patches to one of the above materials.
Things You Need
Before you begin, make sure you have everything you need.
You will want:
- An iron (If not available, you can use a hair straightener instead)
- An ironing board or a hard and flat surface
- The patch itself
- The clothing article to iron the patch onto
- A pillowcase, sheet, or another piece of thin fabric to use as a pressing cloth
The final item on the list, the pillowcase or thin fabric, will protect the patch fabric, its threads and your clothing from the excessive heat of the iron.
Placement of the Patch
This is one of the most important steps in the process of ironing on your patch. After all, ironing on a patch permanently attaches it to the clothing. If you realize that you did not quite center it properly, you will have to deal with that. The same is true if you decide you would have preferred it somewhere else.
Because the patch is permanent, consider using a measuring tape to make sure it is perfectly positioned.
You may even want to take a few minutes to pin the patch onto the piece of clothing, put on the item, and look in the mirror. This will let you confirm that you like the position of the patch and that it is aligned properly.
If you want to iron on the patch onto a hat, a shoe, a backpack or something else that won’t lie flat on a surface, you can overcome this issue by stuffing the object with towels or cloths. This will make the surface as tough as possible, maximizing the ability of the patch and iron to lay flat against it.
Lay the Pillowcase or Pressing Cloth Over the Patch
Now that you have decided on the placement of the patch take your pillowcase, sheet, or other thin material and just lay it on top of the patch.
Get the Iron Ready
One of the keys steps to iron on patches is to always use your iron on the maximum heat setting. So, place your iron on the ironing board and let it start heating up.
Time to Strike While the Iron is Hot
Place the iron on top of the pillowcase. This way, the material of the pillowcase protects the patch and clothing from the heat of the iron. Press on the iron with downward force, keeping it in place for between 20 and 45 seconds. Make sure you press down without moving the iron. If you move the iron, you may accidentally move the patch and no longer have it where you wanted. If you think you are going to burn something remove the iron for a couple of seconds to give the heated area a little break and place it back again.
Flip the Material and Repeat
After the previous step, the patch should be attached to the material reasonably well. Carefully turn the clothing inside out so that you can iron the other side as well. This will make it even more secure.
As with before, put the pressing cloth over the patch and your material. Then, place the iron on top of the pressing cloth, holding it down for 20 to 45 seconds, again if you think it’s too much heat remove the iron for a couple of seconds and put it back again.
What about patches on tricky surfaces, such as sneakers or something else that you can’t flip around? Don’t ruin your item trying to flip it around or burn yourself trying to fit an iron in a tiny space. Just complete a second round of ironing the front of the patch. Don’t forget to turn off the iron, remove the plug and keep it in a safe place until it cools off.
Let the Material Cool Completely
The final step of how to iron on patches is also crucial – always let the patch and material cool down completely before you wear it.
A Quick Summary on How to Iron On Patches
If you prefer a concise version of the above steps, the following should help:
- Carefully position your patch on the chosen material
- Confirm you like the positioning; it’s permanent
- Place a pressing cloth (or pillowcase) on top of the patch
- Heat your iron to the hottest setting
- Hold the hot iron on the pressing cloth (and patch) for 20 to 45 seconds
- Turn the material inside out to access the other side of the patch
- Place your pressing cloth over the back of the patch
- Hold the hot iron over the pressing cloth (and patch) for 20 to 45 seconds
- Let it cool
- Wear
Now that you know how to iron on patches, the possibilities are limitless. If you have ironed on patches before and are looking for an easy and tested way to remove them, then read this article to remove your iron on patches.
If you want to customize your patches that you can add to your clothing, bags, shoes, or other items just fill out and submit the price quote form on our website, or call us on 541-248-8831 or send us an email on sales@ultrapatches.com and our sales representative will be happy to help you out in designing and creating your own custom patches.
If you are an organization or company, you can use your new knowledge to turn plain T-shirts or polo shirts into professional-looking uniforms by applying your own custom patches.
Or you could use custom patches to create affordable items to give away as a way to promote your company. Just iron the patches onto plain tote bags, hats, or T-shirts and let people use them.
With just an iron and a pillowcase, you can add an iron on patch to nearly everything — your favorite shirt, jeans, bags, hats, shoes, or another item — in a matter of minutes. The results will be permanent and you’ll have your own customized clothing.